Your team just wrapped up a 45-minute Google Meet call. Decisions were made, tasks were assigned, and a few brilliant ideas surfaced — but nobody took proper notes. Now everyone has a slightly different memory of what was agreed upon, and the recording sits unwatched in a Drive folder. Sound familiar?
Google Meet transcription solves this problem by converting spoken words into searchable, shareable text. But simply turning on transcription is not enough. The difference between a useless wall of text and genuinely useful meeting notes comes down to how you set up, capture, and process your transcripts. These eight tips will help you get the most out of every meeting recording.
Why Google Meet Transcription Changes How Teams Work
Meeting transcription shifts your team from “I think someone mentioned that” to “here is exactly what was said at minute 12.” Instead of rewatching entire recordings, you can search for keywords, skim key sections, and extract action items in seconds.
Teams that use transcription effectively report fewer miscommunications, faster follow-up on action items, and better accountability across projects. It also makes meetings more inclusive — team members in different time zones or those who could not attend can read the transcript instead of blocking 45 minutes for a recording playback.
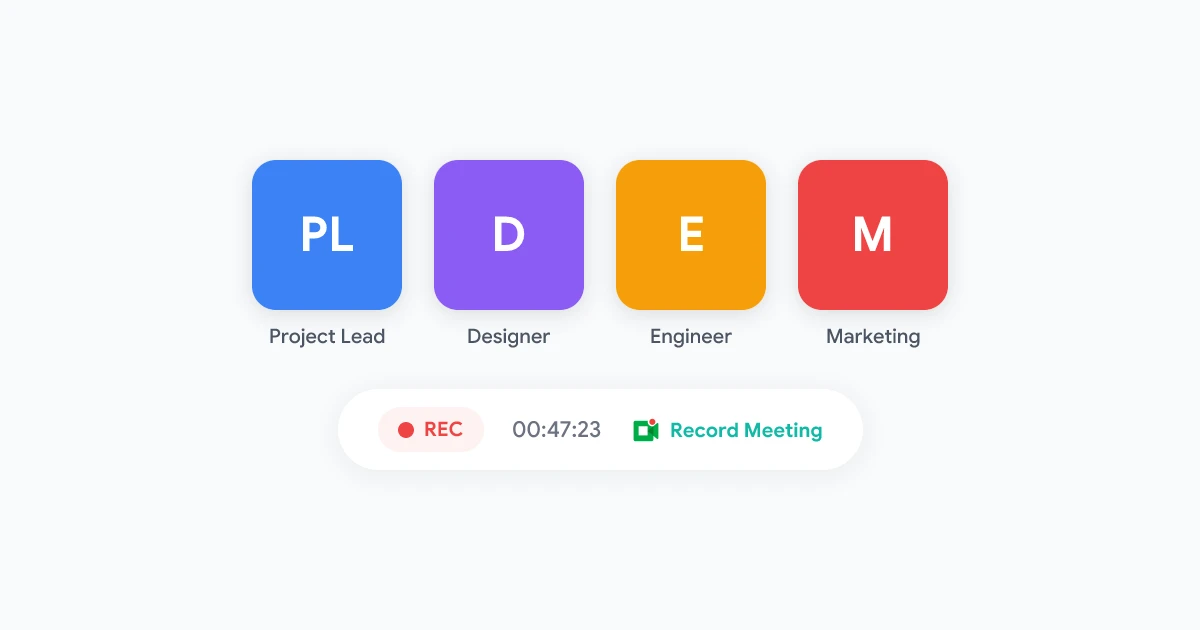
2 min
Skim a transcript
45 min
Rewatch a recording
Tip 1: Enable Built-In Transcription Before You Hit Record
Google Meet includes a native transcription feature on Business Standard, Business Plus, and Enterprise plans. The key is to enable it before the meeting starts — not after.
Your Google Workspace admin needs to turn on transcription in the Admin Console under Apps > Google Workspace > Google Meet > Meet Settings. Once enabled at the organization level, any host can activate transcription for individual meetings.
To start a transcript during a call:
- Click the Activities icon at the bottom of the Meet window
- Select Transcripts from the panel
- Click Start transcript
- All participants receive a notification that transcription is active
The transcript is saved as a Google Doc in the organizer’s Drive, linked to the calendar event. This makes it easy to find later — but it captures raw speech only, without formatting or summaries.
Pro tip: Pair transcription with recording. When both are active, you get a searchable text document alongside the full audio/video capture, giving you the best of both worlds. Check our complete guide to recording Google Meet for the full setup walkthrough.
Tip 2: Use a Dedicated Recording Tool for Reliable Transcription
Google Meet’s built-in transcription works, but it has limitations. It requires a paid Workspace plan, only the host can activate it, and the output is plain text without speaker labels or timestamps. If you need more — or if you are a participant without host permissions — a dedicated tool fills the gap.
Purpose-built meeting recording tools capture audio, video, and transcription simultaneously. They typically offer higher accuracy, automatic speaker identification, and AI-powered post-processing that turns raw speech into structured notes.
Record and transcribe Google Meet calls with one click. Get AI-powered meeting summaries, automatic speaker labels, and searchable transcripts — no host permissions required.
Get Started →
The advantage of tools like Record Meeting is that transcription happens automatically in the background. You do not need to remember to click a button, and the transcript is ready within minutes after the call ends.
Tip 3: Optimize Your Audio Setup for Accurate Transcripts
Transcription accuracy depends entirely on audio quality. A clear signal produces a near-perfect transcript; a noisy one produces gibberish. Small adjustments to your setup can make a dramatic difference.
Practical audio tips:
- Use an external microphone. Even a $30 USB mic outperforms every built-in laptop microphone. The closer the mic is to your mouth, the higher the signal-to-noise ratio.
- Mute when not speaking. Background noise from unmuted participants degrades transcript quality for everyone. Make muting a habit.
- Close the door. Ambient noise — keyboard clicks, air conditioning hum, coffee shop chatter — confuses transcription engines more than you might think.
- Ask participants to speak one at a time. Overlapping speech is the single biggest source of transcription errors. A brief “one person at a time” reminder at the start of the meeting goes a long way.
Tip 4: Use Speaker Labels to Keep Track of Who Said What
Raw transcription text without speaker attribution is hard to follow. When you read “we should push the deadline to Friday,” you need to know who said it — was that the project manager making a decision, or a team member making a suggestion?
Google Meet’s native transcription has limited speaker identification. It attributes speech to participants based on their Google account, but accuracy drops in fast-paced discussions with frequent speaker changes.
Dedicated transcription tools handle this better by combining audio fingerprinting with participant metadata. Record Meeting identifies speakers automatically and labels each paragraph with the speaker’s name, making the transcript read like a structured dialogue rather than a monologue.
When reviewing transcripts, look for:
- Decision moments — statements where a specific person commits to a direction
- Action items — anything phrased as “I will,” “we need to,” or “can you”
- Questions left unanswered — these need follow-up after the meeting
Tip 5: Generate AI Meeting Summaries from Your Transcripts
A full transcript can run thousands of words for a one-hour meeting. Reading it end-to-end defeats the purpose of saving time. AI-powered summarization condenses the transcript into a structured overview that highlights what matters.
Modern meeting transcription tools use large language models to generate summaries that include:
- Key discussion points — the main topics covered
- Decisions made — what the group agreed on
- Action items — who needs to do what, and by when
- Open questions — topics that need further discussion
Google Meet offers Gemini-powered note-taking on supported Workspace plans. For teams on other plans or who need more customization, third-party tools provide similar AI summarization that works with any Google Meet recording.
Tip 6: Turn Transcripts into a Searchable Meeting Archive
Individual transcripts are useful. A searchable archive of every meeting your team has ever had is transformative.
Think about it: instead of asking a colleague “what did we decide about the pricing model three months ago?”, you can search your meeting archive for “pricing model” and find the exact conversation, with speaker labels and timestamps.
How to build a meeting archive:
- Consistent naming — Use a standard format for meeting titles:
[Team] Topic — Date. This makes Drive searches more effective. - Tag by project — Move transcript Docs into project-specific folders, or use Google Drive labels to categorize them.
- Use a dedicated tool — Tools like Record Meeting automatically organize transcripts by date, team, and project. They provide full-text search across all past meetings, so you can find any conversation in seconds.
This approach connects directly to broader workflow automation strategies — once meeting notes flow automatically into your project management system, action items become trackable tasks without any manual copy-pasting.
Tip 7: Extract Action Items Automatically After Every Call
The most valuable output of any meeting is not the discussion itself — it is the list of things people agreed to do afterward. Manually extracting action items from a transcript is tedious and error-prone. AI handles this in seconds.
Automatically extract action items, decisions, and key takeaways from every Google Meet call. AI-powered summaries delivered to your inbox minutes after the meeting ends.
Get Started →
Best practices for capturing action items:
- Be explicit during the meeting. Phrases like “Sarah will update the timeline by Friday” are much easier for AI to extract than vague commitments like “we should look into that.”
- Summarize action items at the end of each topic, not just at the end of the meeting. This creates natural checkpoints that both humans and AI can identify.
- Review the AI-extracted list immediately after the meeting. Catch any missed items while the discussion is still fresh in your mind.
Tip 8: Share Transcripts Instead of Full Recordings
When someone misses a meeting, the instinct is to forward the recording. But a 45-minute video is a 45-minute time commitment. Most people will not watch it. A transcript with an AI summary, on the other hand, takes two to three minutes to read and provides every important detail.
When to share transcripts vs. recordings:
| Scenario | Share Transcript | Share Recording |
|---|---|---|
| Team member missed the call | Yes | Optional |
| Stakeholder needs a decision summary | Yes | No |
| Training or onboarding material | Both | Yes |
| Legal or compliance documentation | Yes | Yes |
| Quick status update catch-up | Yes | No |
Sharing tips:
- Highlight key sections before sharing. Bold the action items and decisions so the reader can skim quickly.
- Include timestamps that link back to the recording. If someone needs more context on a specific point, they can jump to that exact moment.
- Set appropriate permissions. Transcripts may contain sensitive information. Use Google Drive sharing settings or your recording tool’s access controls to limit who can view the document.
Frequently Asked Questions
Start Capturing Every Word Today
Google Meet transcription turns your meetings from ephemeral conversations into permanent, searchable knowledge. The eight tips above are not complex — they are small adjustments to how you set up, run, and process your meetings that compound into a significant productivity advantage over time.
Start with the basics: enable transcription on your next call, invest in a decent microphone, and remind participants to speak clearly. Then layer on the advanced techniques — AI summaries, searchable archives, automatic action item extraction — as your team gets comfortable with the workflow.
The goal is not to record everything for the sake of recording. It is to make sure that when a decision is made, a task is assigned, or an idea is shared, it does not disappear the moment the meeting ends.